How to Cook Bottom Round Beef
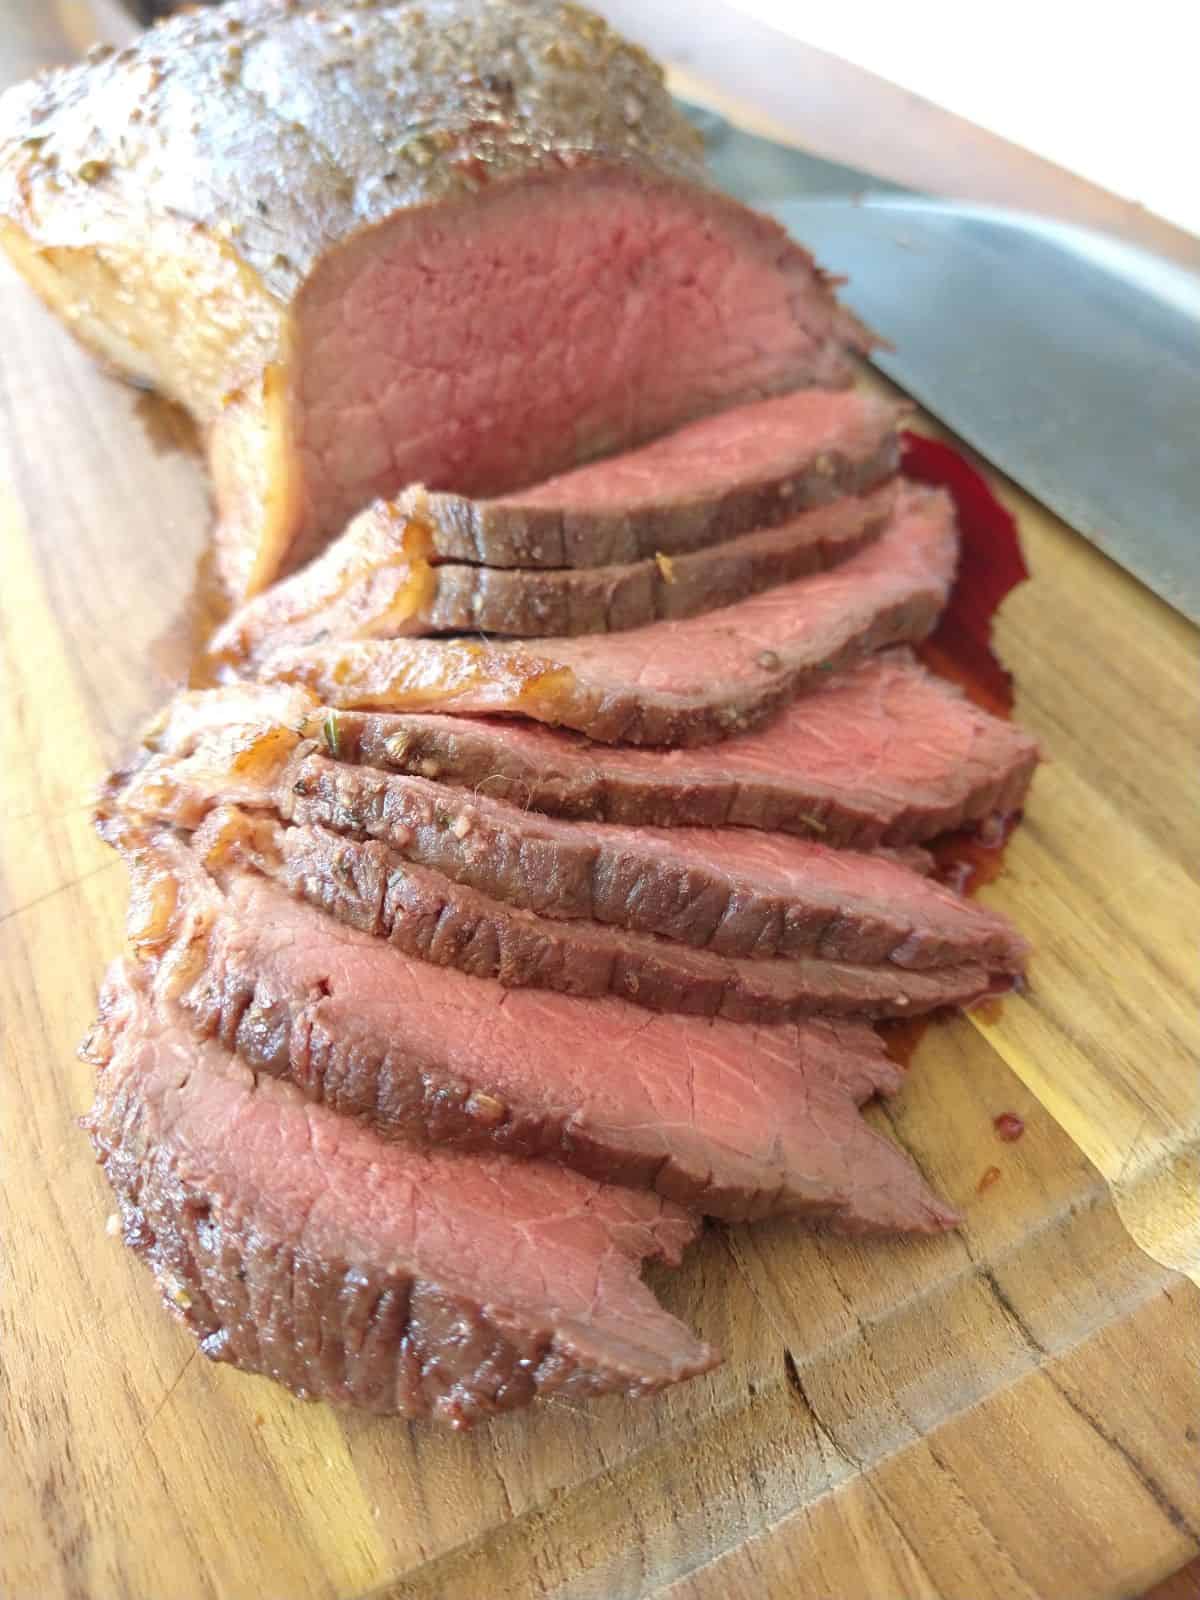
Get our bottom round roast recipe and learn how to turn a cheap roast into one as tasty as a more expensive one. Our method will help you achieve a tender roast. Along with our helpful tips, get our recipe for a wonderful sauce or gravy to go along with it.
The leftovers make for great roast beef sandwiches!
This post includes affiliate links. This means that at no additional cost to you, I will earn a commission if you click through and make a purchase. These are products and services I recommend because I use or trust them. Cookies will be used to track the affiliate links you click.
Ever been to the grocery store and saw a big chunk of beef on sale and threw it in your cart because it was the best deal?
Then you went home and cooked that hunk just like you always cook hunks of meat. But the end result wasn't what you were anticipating. This is why it's important to understand the cuts of beef available in the market (and there are alot).
I have been working my way through each one (check out my How to Cook Sirloin Filet Steaks). The next one on my to do list is the bottom round roast.
Jump to:
- 🐄 What is a Bottom Round Roast?
- 🏆 Best Quality
- 🐮 Bottom Round vs. Chuck Roast
- 🍲 Can You Use It For Pot Roast?
- 🛒 Ingredients
- ⏲️ How Long Does It Take to Cook
- 🌡️ Internal Temperature
- 📋 Instructions
- 🔪 How to Slice
- ❔ FAQ
- 🥩 More Cuts of Beef to Try
- Tender Bottom Round Roast
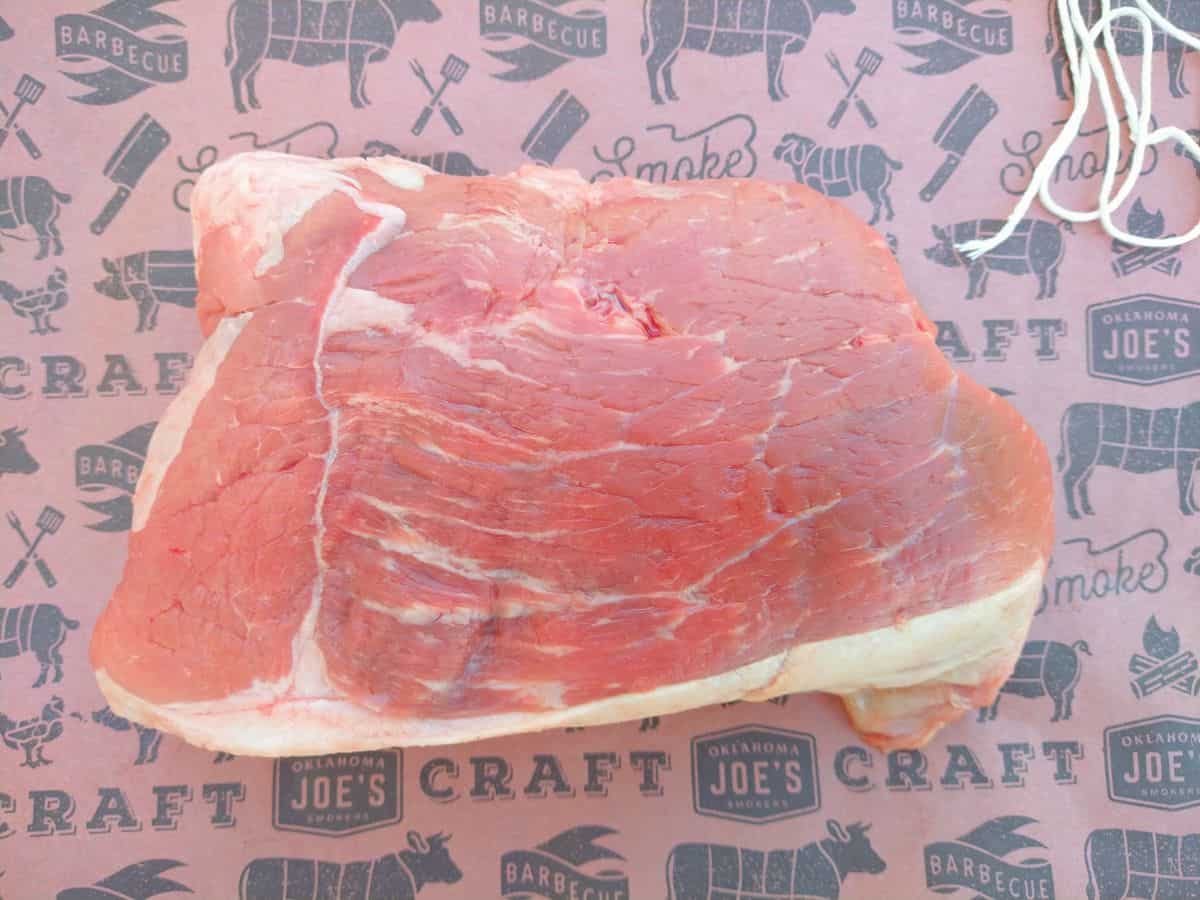
🐄 What is a Bottom Round Roast?
The bottom round roast is cut from the round primal, which is located at the back end of the cow. As suggested the bottom round comes from the bottom of the round.
This is a tough cut of meat, with a low price tag. Bottom round roasts you find in the grocery store are around 2-4 lbs.
While the most common way to use bottom round is to braise it, or cook it slowly in some type of liquid. And that is a great way to go.
But what about roasting this roast? It can be done and it can be done well (but you wouldn't want it well done). It's all about the technique that you use. Follow the following steps and you can turn this tough, cheap cut into something good.
Average price of a bottom round roast = $4 to $6 per pound
🏆 Best Quality
If you want to splurge for the highest quality Bottom Round Roast, I suggest ordering one from Porter Road. Their beef is both pastured raised and dry aged. I can't say enough about their quality of their steaks and roast.
🐮 Bottom Round vs. Chuck Roast
This cut is most often compared to the chuck roast. They come from opposites ends of the animal. Chuck roast comes from the front. They tend to be a lot fatter than the lean bottom round.
Both are economical options and you find some recipes saying you could use either.
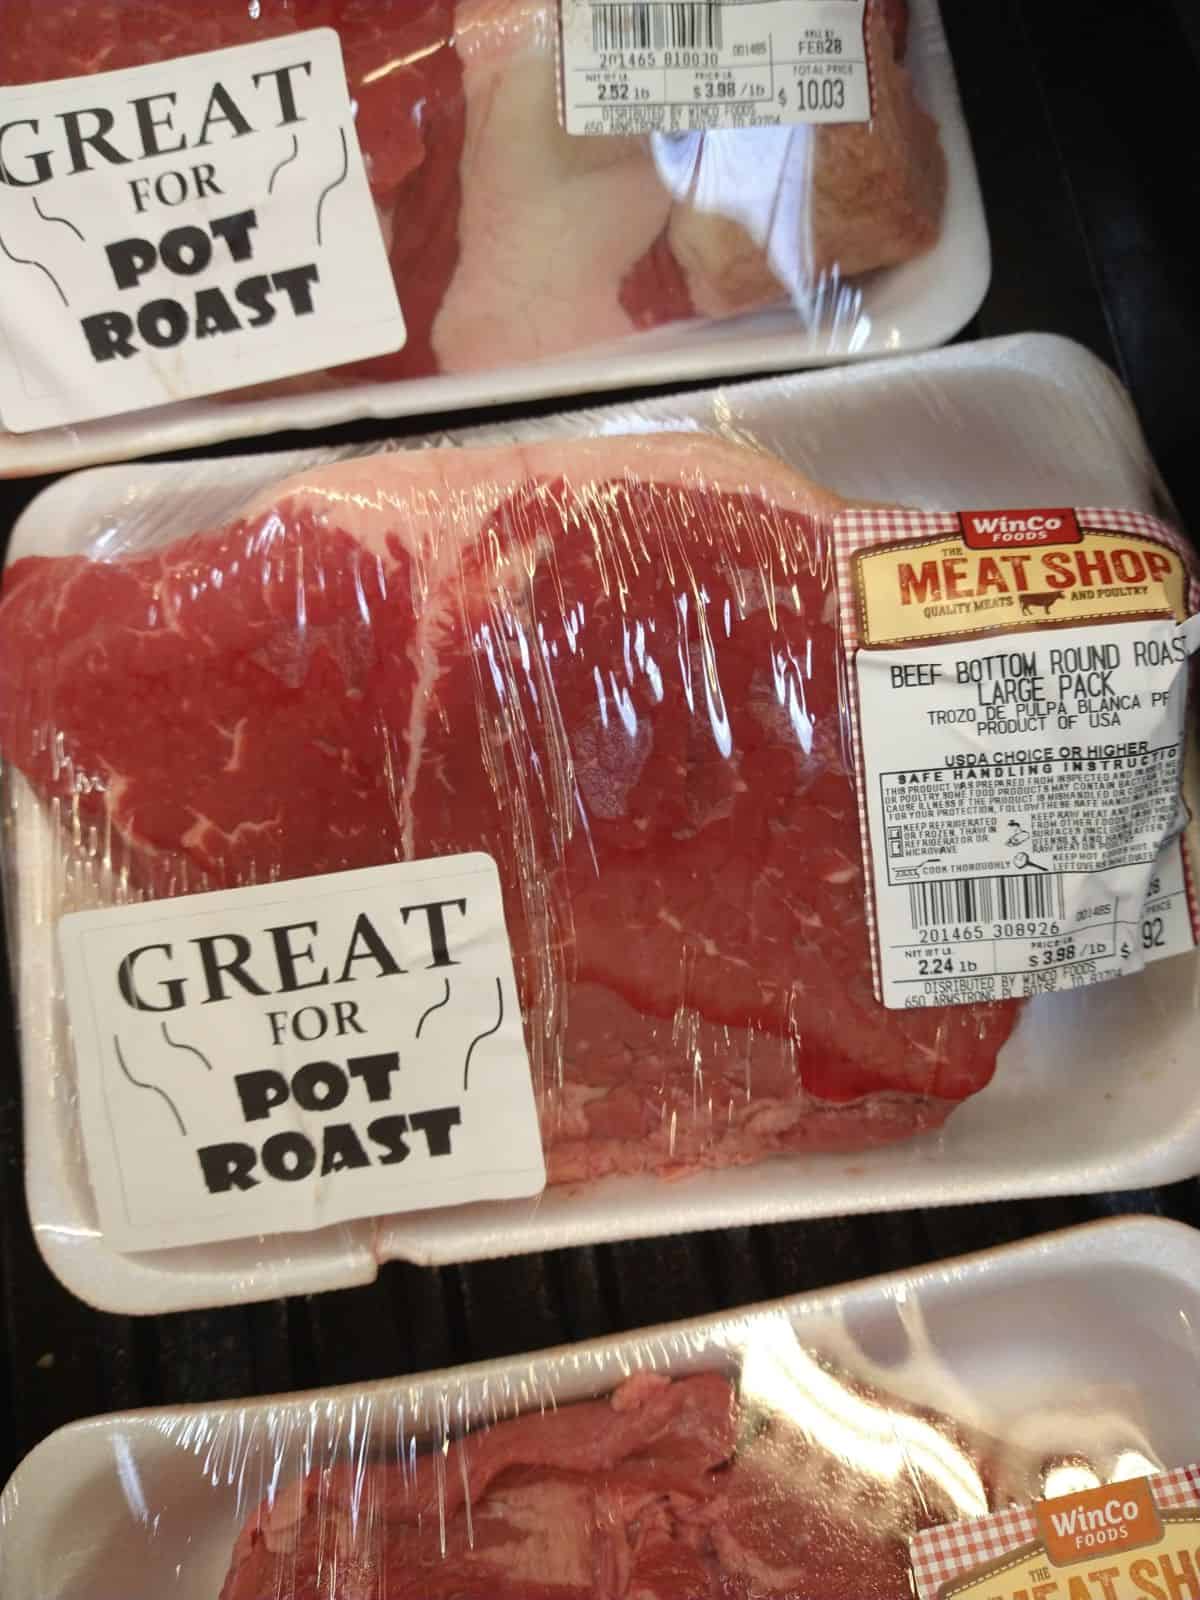
🍲 Can You Use It For Pot Roast?
Yes, you can use bottom round for pot roast. In fact I see stores advertising them for pot roasts.
However, I would rather use a chuck roast for pot roast. The fatter cut makes for a more rich, flavorful pot roast. I am talking that finger licking good flavor.
I prefer to cook the bottom round in a dry heat method that simulates cooking a more expensive roast, like prime rib, but at a fraction of the cost. And with increasing beef prices, it's even more important nowadays.
RELATED - What's the Best Cut for Pot Roast?
🛒 Ingredients
Start out with a bottom round roast in the 2-4 pound range. The one I cooked for this recipe most recently was 2.5 pounds.
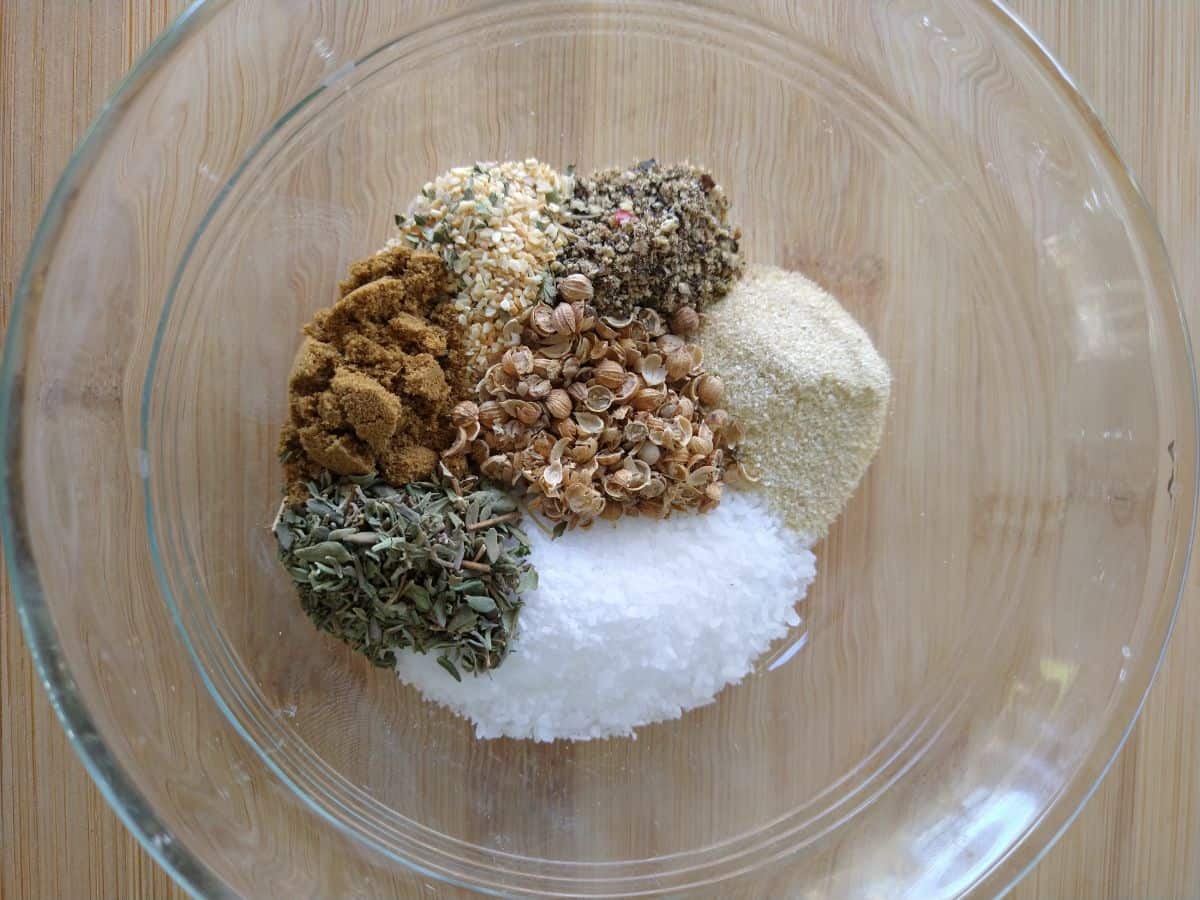
Dry rub
A great way to add flavor is with a dry rub. You can use one you have already bought, but making own yourself is easy enough and 9 times out of 10 will taste better.
Here is what you will need for our version.
- 1 tablespoon kosher salt
- 1 teaspoon garlic powder
- 1 teaspoon cumin
- 1 teaspoon freshly ground black pepper
- 1 teaspoon onion powder
- 1 teaspoon dried thyme
- 1 teaspoon crushed coriander
Also have some olive oil on hand that you will add before putting the roast in the oven.
For the gravy
While the gravy is up to you if you want to make it, it's extremely flavorful, so it's worth all the little effort it will take. Here is what you will need besides the drippings from the roast.
- 1 cup beef broth
- 1 tablespoon all-purpose flour
- a few splashes of Worcestershire sauce
If you don't have Worcestershire you could also use some balsamic vinegar, red wine vinegar, or soy sauce. You just want to give it that extra shot of flavor.
⏲️ How Long Does It Take to Cook
The best way to cook a roast is to use a probe thermometer and cook it by temperature not a set time. But I still want to give you a ball park idea, so let me share with you my most recent experience with a 2.5 pound roast.
- When I put the roast into a 250 degree oven it was 47 degrees inside. After 1 hour of time it was at 107 degrees. That's a 60 degree increase in 60 minutes.
- After 10 more minutes it was at 118 degrees. I pulled the roast and turned up oven to 500 degrees.
- Took 8 minutes for oven to get to 500 degrees. Roast was at 123 degrees then. Probe has to come out due to high oven temperature that could damage it.
- Took 12 minutes more to brown with a flip half way for more evening cooking.
- Allowed to rest for 10 minutes before checking the final temperature at 136 degrees.
Total cook time - 1 hour 30 minutes
That's not a very long time and still quicker than a crock pot. Now this doesn't mean your roast will cook exactly the same as mine. It depends on the size and shape of it. For best results, using a thermometer will ensure it's cooked to the right temperature regardless of size or shape.
🌡️ Internal Temperature
Oven Temperature
Set your oven to 250 degrees. Why such a low temperature? Two reasons
- A lower temperature allows the meat to cook more evenly. If you cook it at a high temperature you end up with a nicely browned outside but the inside will contain a only small section of your desired doneness with most of it being overcooked.
- The slower you take to cook it, the more time you have for the connective tissue in the meat to break down, giving you a more tender roast
Internal temperature
My goal temperature for this roast is around 136 degrees, which is considered medium rare. This roast will be too tough if you go much beyond that, so I don't recommend it.
📋 Instructions
Before you begin
Take the roast out of the fridge and bring it to room temperature. This will help the roast to cook more evenly.
Sometimes these roasts come already tied sometimes they don't. If it does come with some string around it or netting, thank your butcher.
Never remove this string before cooking. If it's on there then it's safe to cook in the oven. The purpose of the string is to help the roast keep a more uniformed shape resulting in more even cooking.
If your doesn't come tied, you can use butcher's string to make it into a more even shape, but it's not mandatory.
I like to roast in a cast iron Dutch oven. I highly recommend is one - Lodge Dutch oven. It does a wonderful job of evenly distributing heat.
When I am done I can use the Dutch oven on the stove top to make a sauce so it saves on dirty dishes.
Also look to see if there is a fat side to your roast. Place in the Dutch oven with the fatter side up. The fat will run down the sides of the roast, keeping it moist. Sometimes the fat is mostly on the side, so it won't matter much as you can't really cook it on it's side unless you can prop it up somehow.
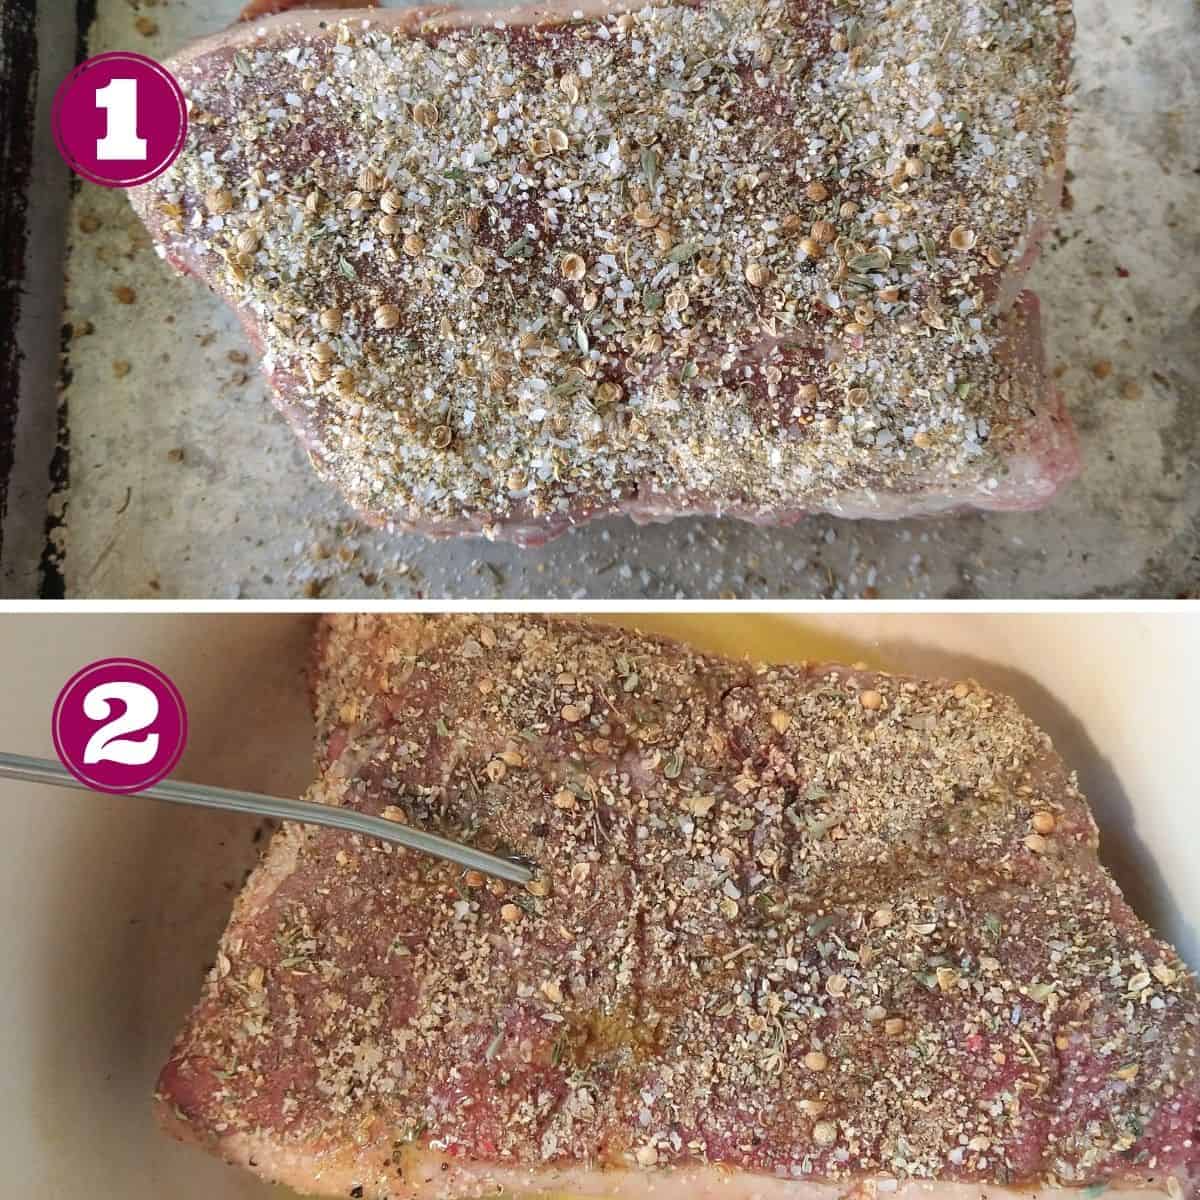
Completely cover both sides of the roasts and the ends with your dry rub.
Then the only thing left is to add a thin coat of oil before putting the roast in the oven. About 2 tablespoons of olive oil with help the roast brown better.
Insert a probe thermometer to keep track of the temperature while it cooks.
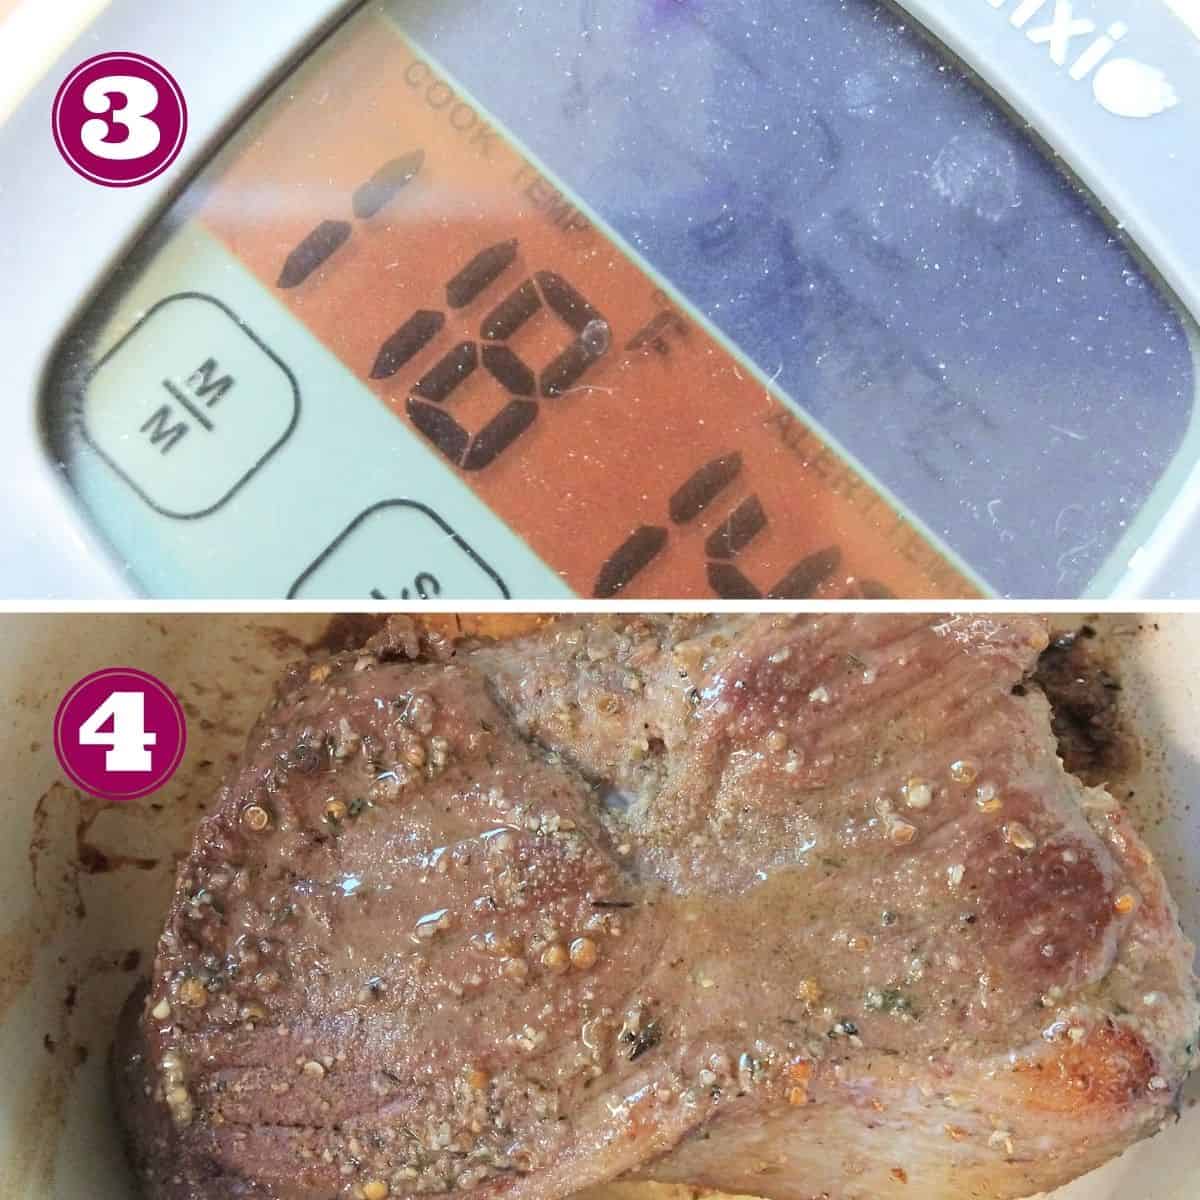
I pull the roast at about 118 degrees.
The downside to a low temperature is that the meat won't brown well. You need high heat for that. Take the roast out of the oven while you raise the temperature to 500 degrees. It's not a bad idea to turn on your oven's hood fan or crack a window open.
The roast will continue to go up in temperature as it sits out (probably about 5-7 degrees). When the oven is nice and hot, place the roast back in the oven.
Roast until you have some good color on the outside of the beef.
I pulled mine when it was brown and at a temperature of 131 degrees. The carry over heat brought it up to about 136 degrees, which is right at the border of medium rare and medium.
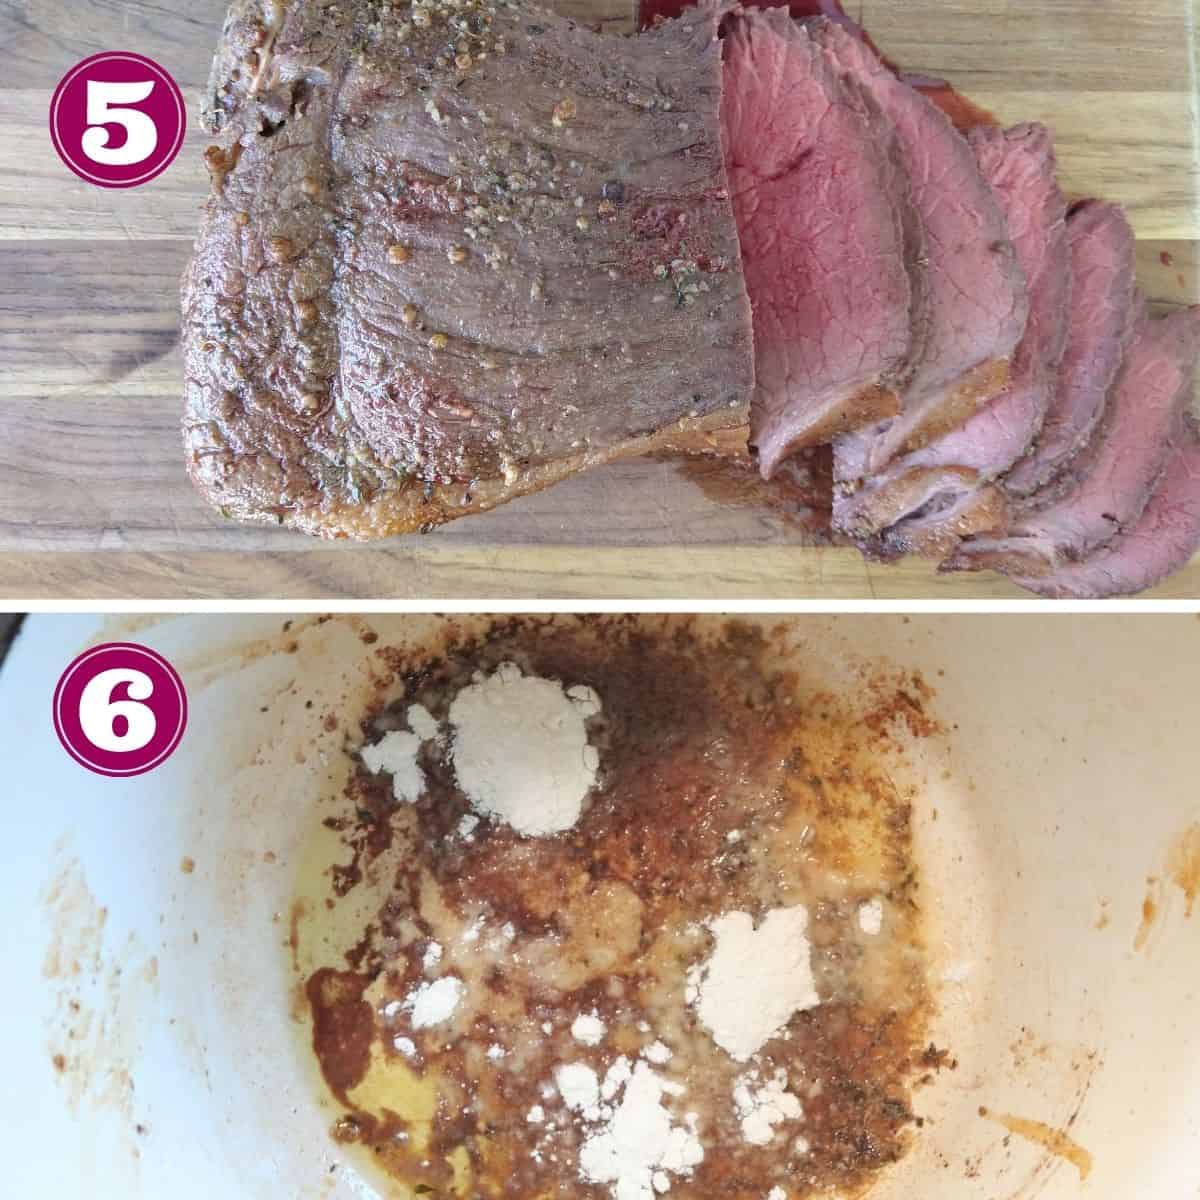
Don't cut into that roast until you let it rest for 10 minutes, otherwise the juices will just run out. While you are waiting you can work on a sauce.
Start by adding 1 tablespoon of flour to the Dutch oven. Mix to combine with the beef drippings and cook the flour. You are making a roux.
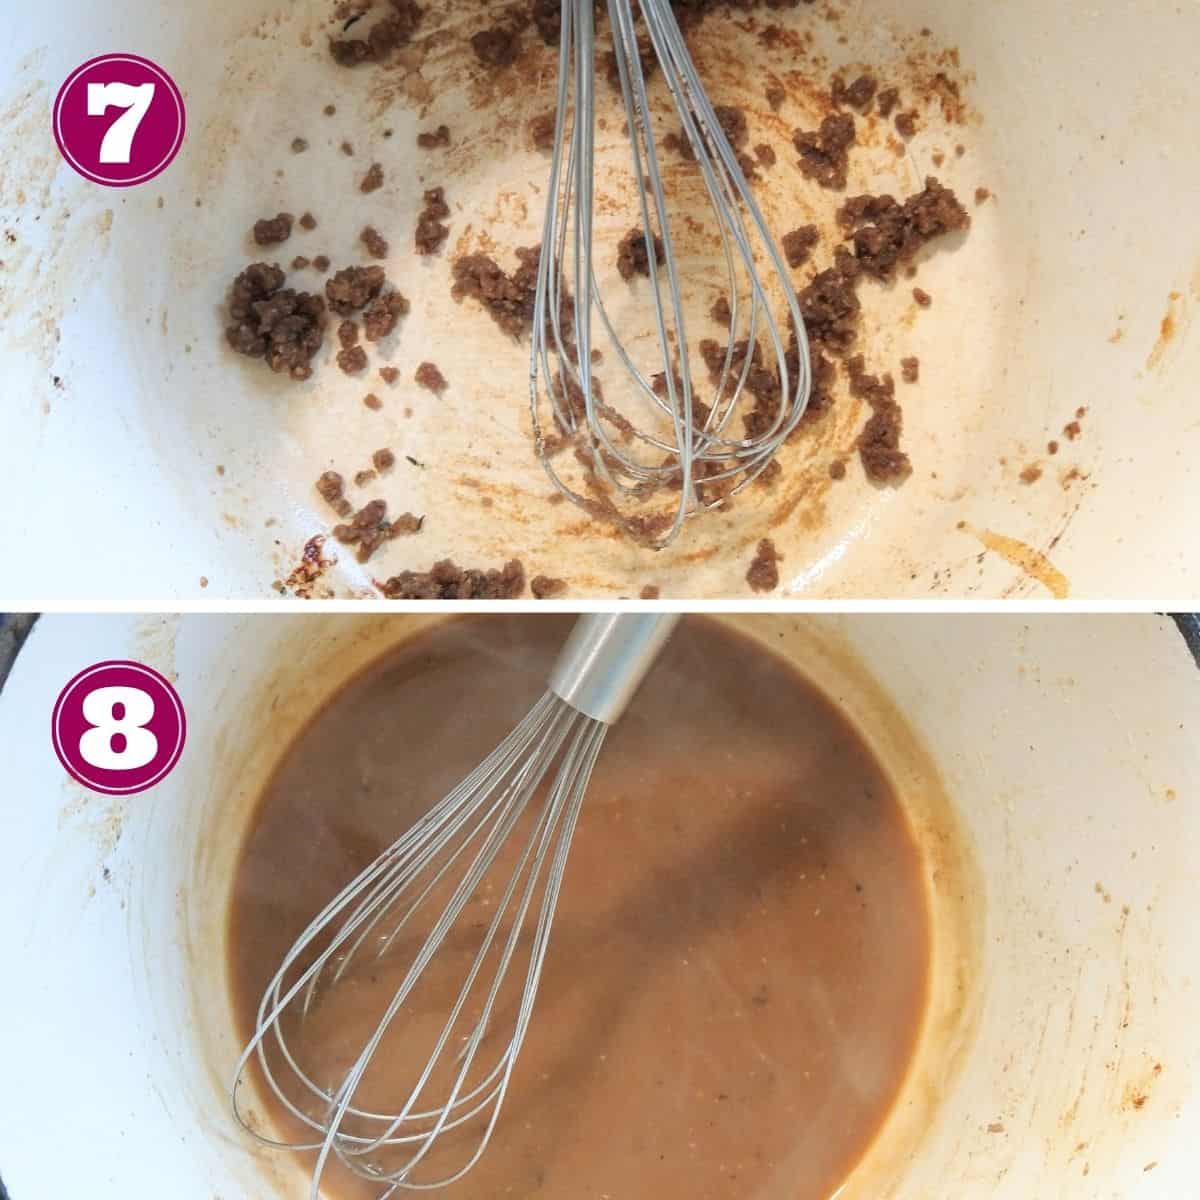
Then add about a 1 cup of beef stock or beef broth.
If you like mushroom flavor, consider using a mushroom broth or mushroom base.
I also add a splash of Worcestershire for that little something extra. Trust me on this one.
Simmer the sauce until it's your desired thickness. Cook longer for a gravy. It should only take a couple minutes. If it's too thick you can add a little more broth.
🔪 How to Slice
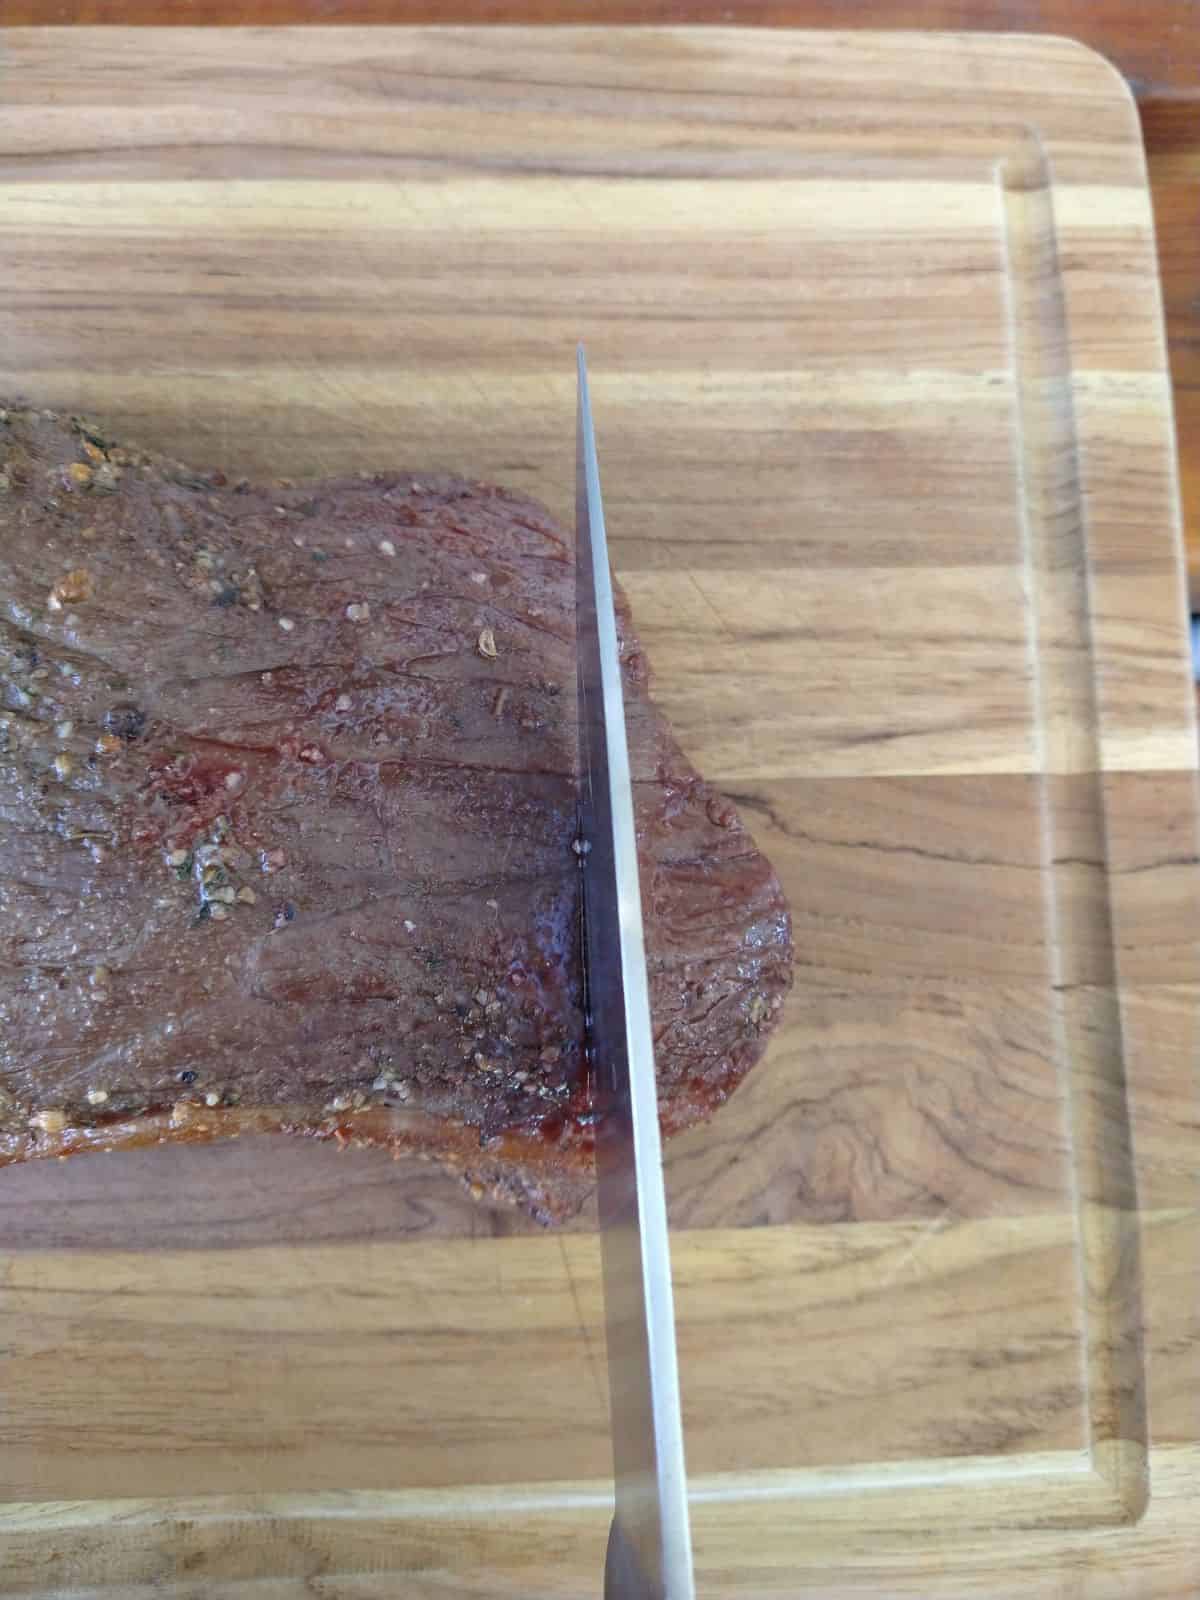
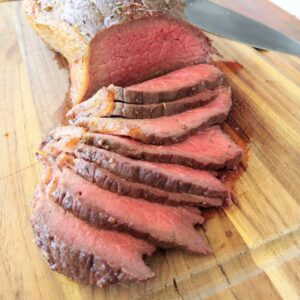
Carve the roast as thin as you can get it and cut against the grain.
When carving this roast it is important to carve it as thinly as you possibly can. This is also great for making sandwiches with the leftovers which was part of my reason of making this roast.
Also when you are cutting the meat on your plate, cut against the grain. This will also make the beef seem more tender in your mouth.
For slicing what I find works really well is a simple electric knife. If you don't have, you can get the really cheap. You can get one for under $20. This is a case where you don't need to spend the big bucks to get something that will get the job.
❔ FAQ
Do I need liquid in the pot?
The only liquid you will need in this recipe is to make the gravy at the end, which is optional. The roast is cooked via a dry cooking method.
Cook you cook it in a slow cooker?
This recipe is geared toward making a sliceable roast that is pinkish red on the inside. A slow cooker would be a better option if you want to make more like shredded beef or a pot roast. It would still be delicious by using the same rub. If I wanted that I would cook it on high in the slow cooker for 4 hours.
Can you cut the roast into chunks?
You can cut it into chunks and that will cook it faster. You will need to try and keep the chunks equal in size in order for them to cook evenly.
How many people does this serve?
If you serve as sandwiches you could serve 6-8 people on a 3 pound roast. I would say 4-6 people if you are just eating it with the gravy. Grab a second or third roast if you are need more. If they don't fit even in a large Dutch oven, you could just cook them on a sheet pan.
Can you rub the roast with herb butter?
I can't tell you how much of a good idea this is! Combine butter with fresh herbs and rub it on the roast when you pull it from the oven when it reaches 118 degrees, before you brown it. This will add a ton of flavor and give you more gravy (you will probably need another tablespoon of flour for the roux.
Can I use a rump roast instead?
Yes. This roast comes from the same area of the cow and I would have no issues substituting it.
🥩 More Cuts of Beef to Try
After you have mastered this roast, here are some other ones to try out.
- Flat Iron Steak
- Flank Steak
- Sierra Steak
- Sirloin Filet
- Chuck Eye
- Chuck Blade
- Chuck Roast
- Center Cut Tenderloin Roast
-
Cast Iron Dutch Oven
- 2.5 lb bottom round roast
- 2 tbsp olive oil
For the sauce/gravy
- 1 tbsp all purpose flour
- 1 cup beef broth or stock
- Worcestershire sauce to taste
-
Preheat your oven to 250 degrees.
-
Take the roast out of the fridge and leave it at to room temperature for no more than 1 hour.
-
Mix together all the ingredients for the dry rub in a small bowl.
-
Completely cover both sides of the roast and the ends with your dry rub.
-
Add the roast to a Dutch oven or other oven safe vessel. Drizzle 2 tablespoons of olive oil over the roast. Turn to coat.
-
Insert a probe thermometer into the most center part of the roast. Place the roast in the oven.
-
When the temperature reaches 118 degrees pull the roast. This should be about 1 hour to 1 hour 15 mins after placing the roast in the oven.
-
Take the roast out of the oven while you raise the temperature to 500 degrees.
-
The roast will continue to go up in temperature as it sits out (probably about 5-7 degrees). When the oven heated up, gently remove the probe (the oven will be too hot for it) and return the roast to the oven.
-
Roast until you have some good brown color on the outside of the beef about 10 to 15 minutes, flip it half way through.
-
Allow the roast to rest for 10 minutes before slicing.
-
Carve the roast as thin as you can get it and cut against the grain.
How to make the sauce/gravy
-
Remove the roast from the Dutch oven. Set over medium heat.
-
Add 1 tablespoon of flour to the beef fat in the bottom of the Dutch oven. Mix to combine and cook the flour. It's ok if it's chunky looking, you will work those out when you add the broth.
-
Then add about a 1 cup of beef stock or beef broth. Stir to combine until it's smooth with no chunks of flour.
-
Simmer the sauce until it's your desired thickness. Cook longer for a gravy. It should only take a couple minutes. If it's too thick you can add a little more broth.
-
Add a few splashes of Worcestershire sauce before serving.
You may need extra rub if your roast is bigger than 3 pounds. Just increase all the rub measurements by 50%.
Mention @eatlikenooneelse or tag #eatlikenooneelse
Source: https://www.eatlikenoone.com/how-to-cook-a-tender-flavorful-bottom-round-roast.htm
0 Response to "How to Cook Bottom Round Beef"
Post a Comment